Friday, December 17, 2010

Funky DIY Wreaths

I always told myself that the moment I started making WREATHS, I was an old fart.  Well, it looks like I finally made it to "old-fartdom" cause I've gone and done it. TWICE.  I must say, however, that no matter how many wreaths I make, I refuse to keep them like a pack rat.  You know what I'm talking about - think suburban queen who sets aside entire rooms for holiday decorations.  That will never be me.   This past Halloween, I'd found a straw wreath shape at Hobby Lobby, covered the sucker in a sickly looking green yarn (which takes about 1.5 episodes of Grey's Anatomy to do, if you were wondering) , and hot glued a haunting magnolia and other various subtly creepy things.  It served me well.


So then, it's not Halloween anymore.  So  what about this creepy little thing on my front door that looks like it belongs on some poor sap's casket? We do a this:

For the flowers I used brown coffee filters, tissue paper from a couple early Christmas presents I got this year, that magnolia from the last wreath, and some paper towels, which I am convinced look exactly like fabric when made into rosettes.

I colored the paper and magnolia with a wash of coral colored paint to match my Cupcake Paper Garland,

I'd never made tissue paper flowers before, so I improvised.  If you're interested, here's a fun technique: Peaches' Coffee Filter Flowers  I also didn't have any hot glue in the house, so you're looking at a feat of staples and string.  I'm MacGyver.

All of this - under $2.  Free if you're already stocked with these kitchen necessities ;)


In my search for wreath ideas, I came across some really fun ones I'd like to share with you if you're thinking of also becoming an old fart like me and feel like creating a wreath of your own! 

Merry Christmas!

Femina Girls

Living with Lindsay
Linda Made
Dana Barbieri
Take Heart
Pickles
Rock Scissor Paper
Craftapalooza
Kenneth Wingard
This Old House
Vintage Indie

Sunday, December 12, 2010

Bridal Shower by Jessica H.

The Bride.
My beautiful friend Imogen is off the market.  (sorry boys!)  To celebrate, my other equally lovely friends, Jessica and Katherine, threw her a dazzling DIY bridal shower in the courtyard of Jessica's complex.  I loved it so much, I just couldn't keep it to myself.
click for larger view


I don't know how they did it, but they managed to dangle strings of Christmas lights and globe lanterns from the high perches of the dinner space.  We dined under the stars.


The color palate was clean and sophisticated.  I'm such a sucker for shades of Tiffany blue and coral.  After apparently chugging a supply of apple juice that could quench an small army, they painted the inside of small Mott's bottles with enamel paint.  FYI, enamel is excellent for such jobs, as acrylic will lift when water comes in contact with it.  Some well selected pink carnations and voila - an economic centerpiece that looks like a million bucks.

Baskets filled with antique roses and lunch bag lanterns helped define the parameters of the space as well as add a little romantic whimsy to the atmosphere.

Lunch Bag Lantern How-To
1.) Find white paper lunch bags at your local grocer.  Any color will do, just make sure the paper is thin enough to allow for light to bleed through.                                             2.) With a craft punch (scrapbook or stationary isle), punch a series of shapes into the upper lip of the bag.  Take care to punch them upside down, as you will then flip the lip around the top to create a "hem" around the lantern.                                              3.) Pop in an LED candle as the light source.  I try not to use real candles during parties.  Wine + fire does not mix well.


Playing a game of "Who Said It?".

Gettin' it.
Jessica has awesome taste in home decor.
I love Jessica's coffee table.


Wednesday, December 8, 2010

Music Paper Gift Wrapping

Wrapping paper is boring and expensive.  Shouldn't the first impression of your gift be just as special as what's inside?  I think so.  With that said, I've come up with some ideas to give your Christmas gifts the presentation they deserve!

First of all, I can't find a reason to buy boxes when all they're going to be good for is either hoarder's fodder or a test to see if your friend/family member has jumped on the recycling bandwagon.  I have a ton of useless hardcovers I inherited from a pretentious ex-boyfriend, and have discovered a delightful way to make them work for me in my crafting endeavors.

Have you ever wanted to be a mysterious person?  Better yet, have you ever wanted your friends to be mysterious people?  Sure, why not?  Give them a double wammy gift of goodies and mysteriousness with this two-for-one pressie of blue-bloodedesque secrecy.

It's a no-brainer.  Just use an eaxact-o knife to cut a shape in the book and VOILA!  You're friend is now officially a member of the mysteriousness society.  Are they an alcoholic?  Fantastic.  Give them a flask in a book entitled something that starts with the letter "D" for "Drunky".  They will appreciate your kindness in looking out for their public dignity.  Just make sure they own books lest it be too obvious.

Get yourself some music paper.  Again, absolutely cheap and accessible through thrift store channels, or just print some out from the internets.  With your handy dandy yellow/brown flavored acrylic paint, thin it out a bit with some water and do a wash over the music paper for an antique finish.

Microwave or bake the paper for quick drying and a more aged appearance.  This book of mine took two sheets. Wrap the sucker.


For the embellishments, I cut 3 flower shapes out of a page from the book itself.


With the same washing technique used for the music paper, select colors for the three individual flower shapes.  I cut and glued the edge of of brown coffee filters for the "garter" around the book.  Experiment with other things - magazine paper, fabric, anything you can cut up. Wrap some ribbon or twine where the filter pieces meet to cover the edges.  This ribbon was from my recent Anthropologie purchase - strait from the gift wrap, baby, on to the next.


Crumple up those flower cut-outs - it gives it more texture.  Glue them on top of one another and secure the center with a button or something similar.  

 Finish it off with a paper cut-out linked to twine and another button.  Beautimous :)


"Cute as a Button" Christmas

As previously mentioned, buttons are awesome.  As previously promised, here is my house covered in them for the 2010 holiday season.

         First things first.  The Button Tree.
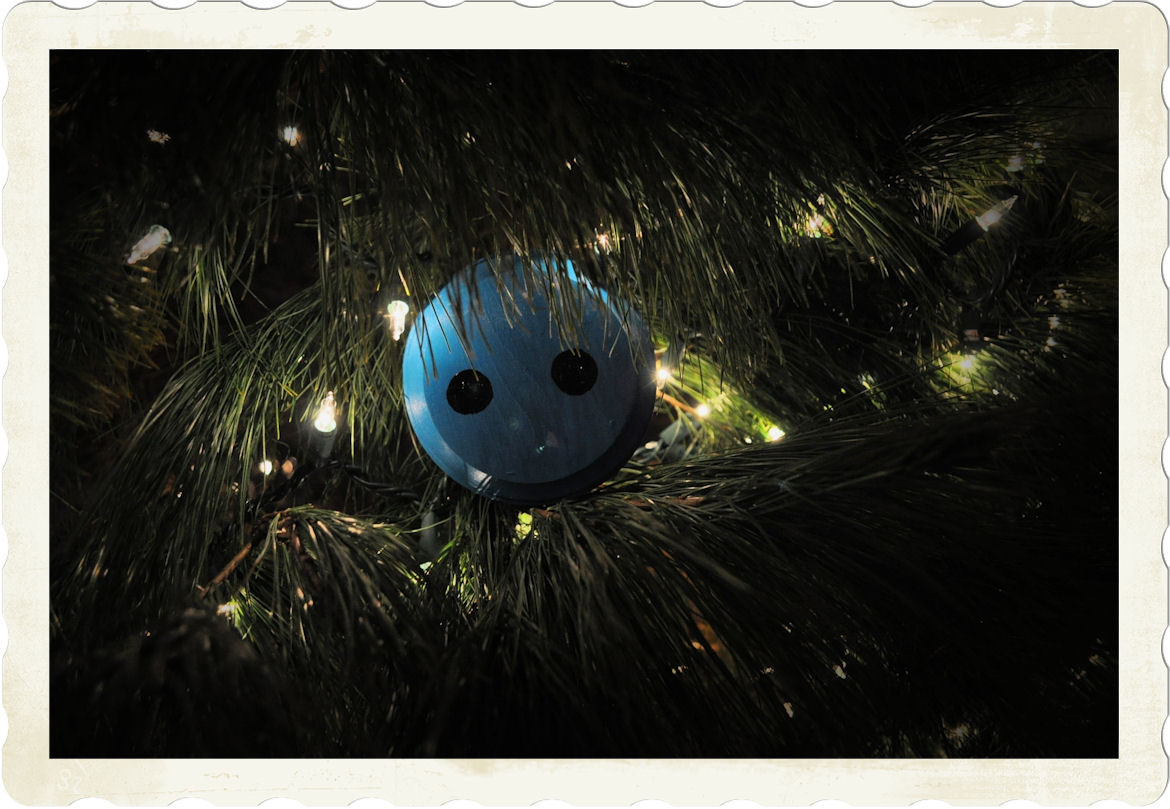
I made the buttons from circular pieces of wood and paint from Hobby Lobby.  Don't buy a pre-made bow.  Make one with a stapler and pretty ribbon.  The lights make it look like it's glowing!

A nestling button.


I bought a slew of buttons grab bag style.  Using some handy dandy string, I made myself some fun homemade button garland.


I have a branch on my wall I seasonally decorate.  I made some button and music paper ornaments to keep the tradition alive.


 I cut out different shapes from music paper and gave them a antique yellow wash with thinned acrylic paint.